
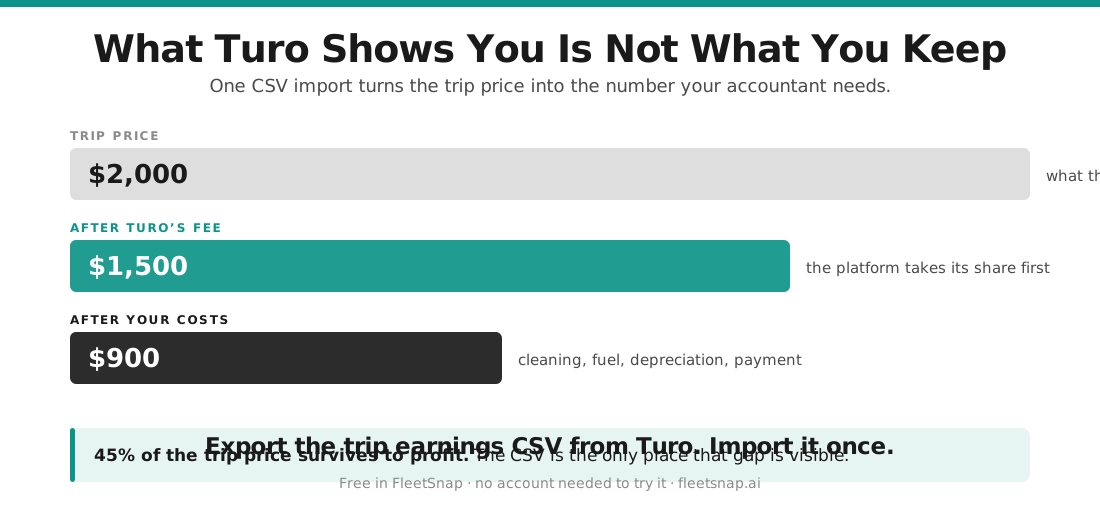
Turo pays you a lump sum and leaves the accounting to you. FleetSnap turns your trip earnings CSV into true payouts after Turo's fee, per-vehicle profit, monthly breakdowns, and clean partner statements you can hand to owners. This guide walks the whole import, naming every button exactly as it appears in the product.
Step 1 - Export your CSV from Turo
The import starts in Turo, not FleetSnap. In the FleetSnap upload area there's a "How to download your CSV from Turo ->" helper that spells this out:
- Log into your Turo host account
- Go to Earnings -> Trip earnings
- Set your date range and click "Export"
- Upload the downloaded CSV file into FleetSnap (next step)
A calendar month is the usual range to settle.
Step 2 - Upload it to FleetSnap
Go to fleetsnap.ai/turo-earnings. In the section headed "Drop in your Turo CSV, get your first statement", either:
- drag the file onto "Drag and drop your Turo CSV here" (it accepts a Turo trip earnings export (.csv)), or
- click "Browse Files" and choose the file.
FleetSnap parses it in about a minute ("Processing your earnings data..."). You do not need to log in to see this first result.
Step 3 - Confirm the numbers
FleetSnap shows "Here's what we found" - totals read straight from your data, no estimates. Click "Continue". On "Your data is loaded", click "Create Your First Partner Statement" to go into the setup wizard, or "Skip - explore the dashboard" to look around first.
Step 4 - Assign vehicles and costs
The first-run wizard has three checkpoints: Splits, Costs, Statement.
- Splits ("Set up your vehicles"): add any partners with "Add a partner". Vehicles you don't assign default to owned by you. Then "Confirm and continue" (or "Skip partners - continue" if you own everything).
- Costs ("Add your costs"): log expenses under the tabs "Recurring monthly", "One-time", and "Fleet-wide" so each cost lands on the right statement.
- Statement: if you're not signed in yet, you'll create a free account here to save your work ("Free forever - 3 reports/month - No credit card").
Step 5 - Read your dashboard
Once saved, the dashboard opens with these tabs down the side: Overview, Vehicles, Monthly, Fleet P&L, Statements, Costs & Income, Insights, Settings. Next month, add another CSV from the top bar with "Import New Earnings" ("Import" on a phone).